A. How to connect the application to your WordPress account
First of all, you need to create API Key in your WordPress.
Creating a WordPress API Key
- Log into the Administrator Dashboard:
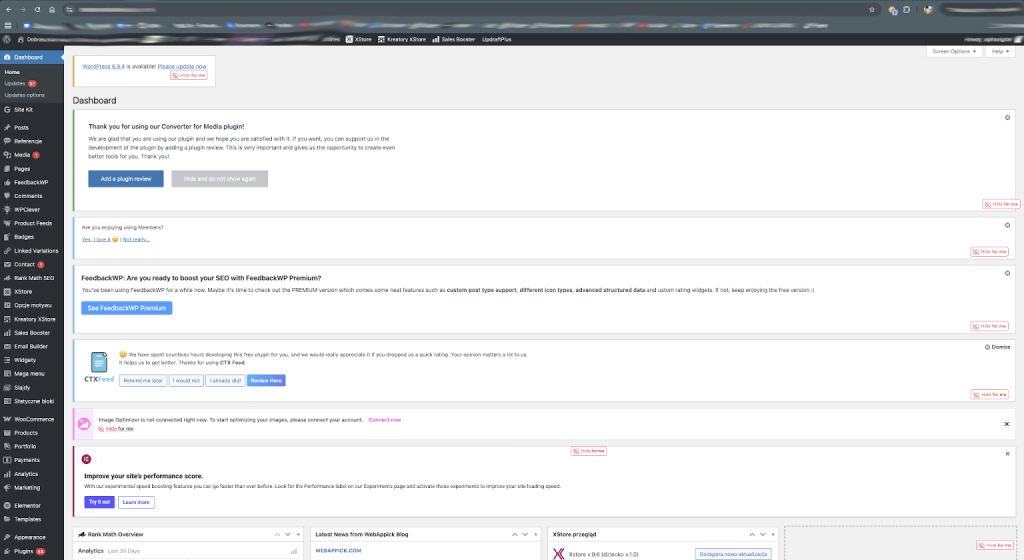
In the left-hand sidebar menu, navigate to: WooCommerce -> Settings.

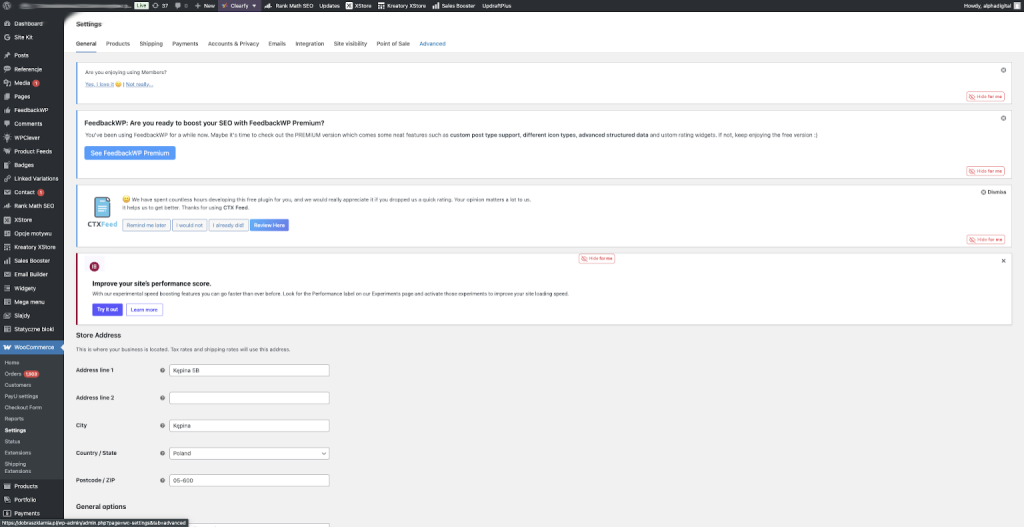
2. Go to the “Advanced” tab:
This tab is located at the very end of the horizontal settings menu.
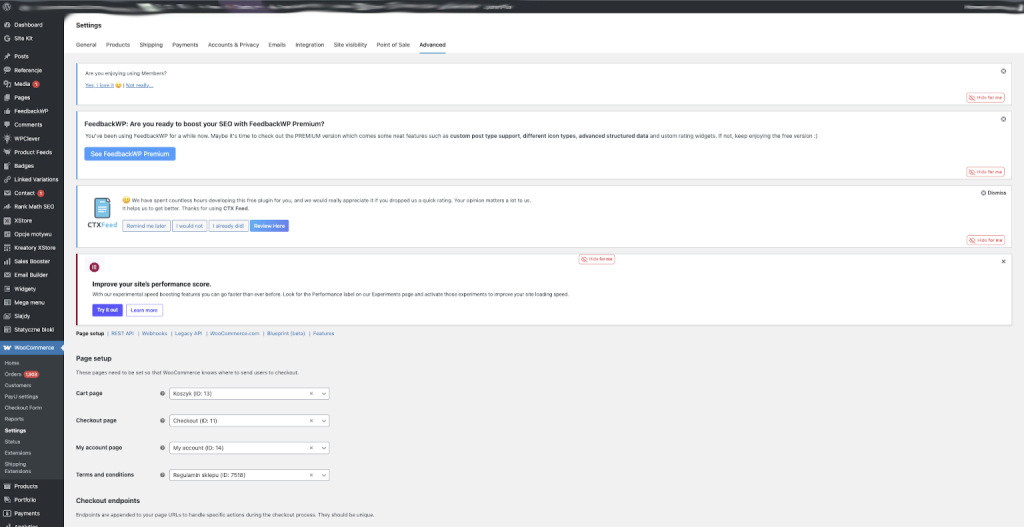
3. Select the „REST API” section:
An additional menu bar will appear below the main tabs. Click the REST API link.
- Create a new key:
- Click the „Add Key” button.
- Description: Enter a name (for example, Bitrix24 Integration) so you know what this key is for.
- User: Select the site administrator.
- Permissions: This is a critically important point. Select „Read”.
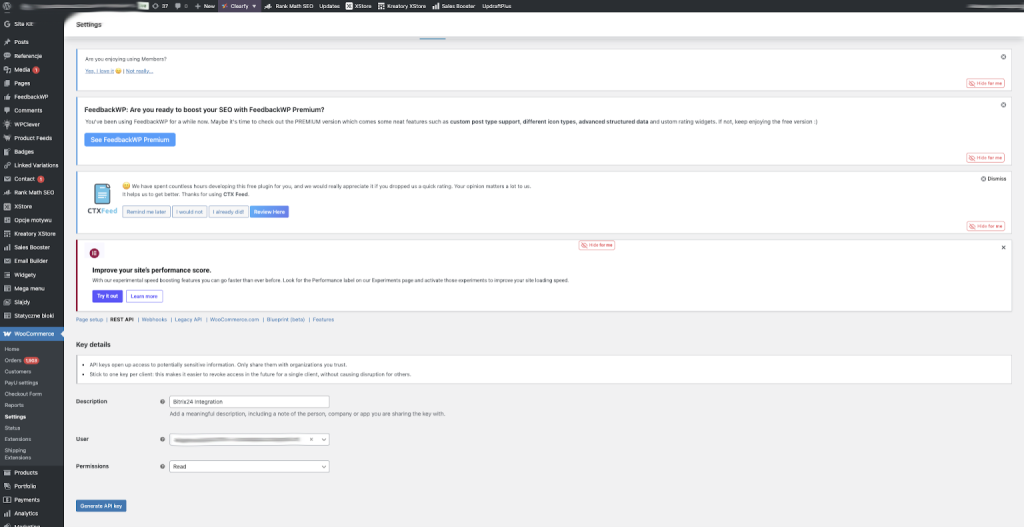
3. Save and Copy the Keys:
After clicking the “Generate API Key” button, WordPress will show you two values:
- Consumer Key — starts with ck_…
- Consumer Secret — starts with cs_…
Important Notes:
- Copy the keys immediately: Once you leave this page, the “Consumer Secret” will be hidden, and you will not be able to see it again. You would then have to create a new key.
- HTTPS (SSL): The WooCommerce REST API requires an SSL certificate (https) to function.
- Permalink Settings: The WooCommerce API will not work if you have “Plain” permalinks enabled. Go to Settings -> Permalinks and ensure that something other than “Plain” is selected (for example, “Post name”).
Then go to the WordPress Connect App in your Bitrix24. Fill on the fileds:
- Your website URL
- Consumer Key (the Key in the WordPress that you generated steps above)
- Consumer Secret (the value in the WordPress that you generated steps above)
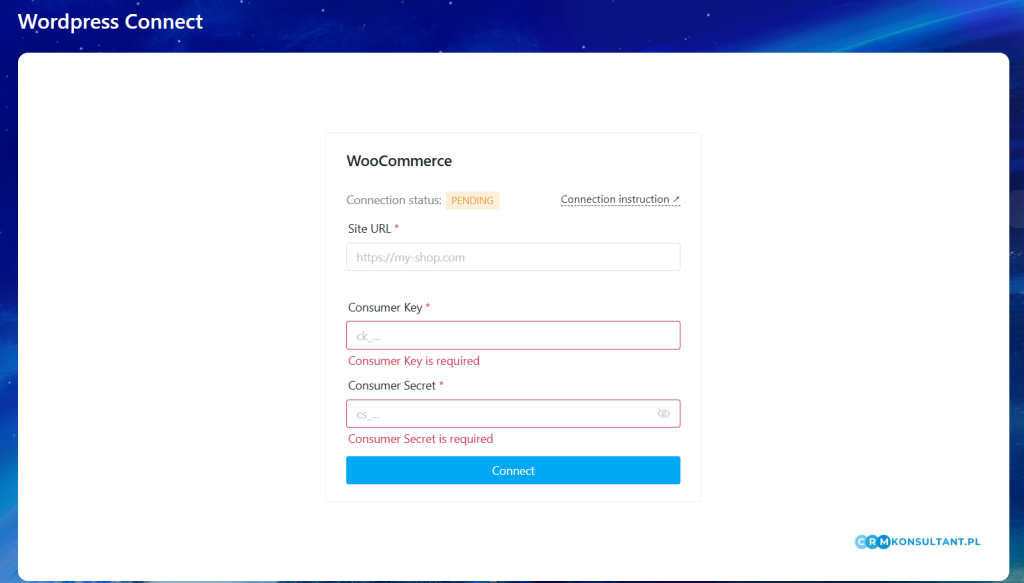
Press Connect.
B. WordPress (WooCommerce) Connect Application Configuration
General Settings (Imports)
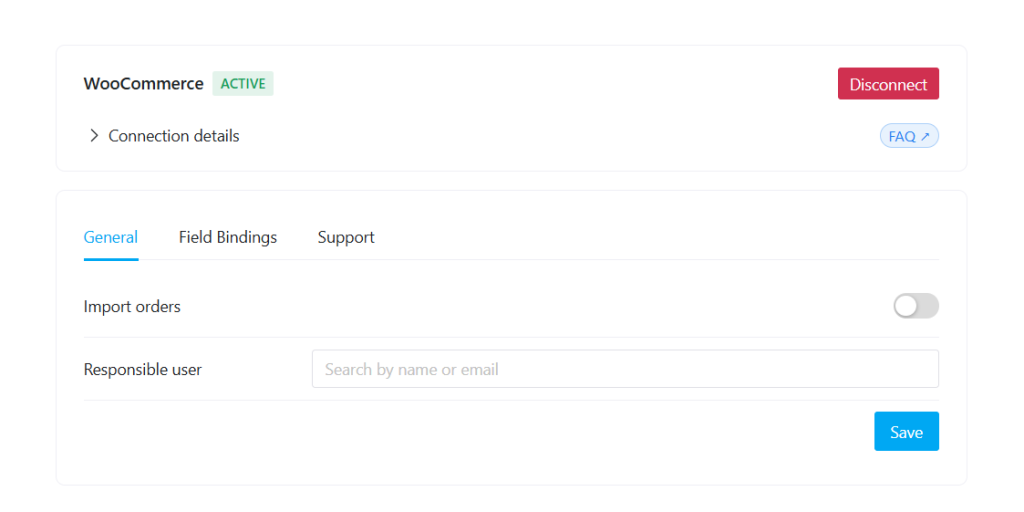
- Import orders – imports orders from WordPress into Bitrix24 CRM entities (also old orders if you need)
- Responsible user – the Bitrix24 user assigned to created CRM entities
Field Bindings (Field Mapping)
Configure how WordPress order data is mapped to Bitrix24 fields.
You can also create custom fields in Bitrix24 and select them from the dropdown.
- Create orders as – choose which entity to create:
- Lead
- Deal
- Smart Process (SPA)
- WooCommerce – order identifier in WooCommerce (WordPress)
- Order status – current order status
- Delivery address – shipping address
- Line items – products included in the order
Support
- Support chat – contact support to ask any questions about setup or using the application
Have questions?
Contact us — we’ll be happy to assist you.
Phone: +48 790 618 514
Email: info@crmkonsultant.pl